The Ultimate DIY Tablet Repair and Flex Cable Guide: Fixing Common Issues and Saving Money
Are you tired of spending a fortune on tablet repairs every time something goes wrong? Do you want to take matters into your own hands and start fixing common issues yourself? Look no futher! In this ultimate DIY tablet repair and flex cable guide, we will walk you through the process of troubleshooting and fixing common tablet problems, all while saving you a significant amount of money.
Understanding the Basics: Tablet Anatomy
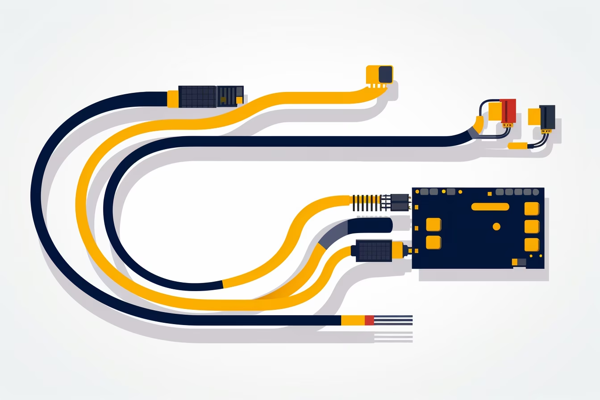
Before we dive into the world of tablet repairs, it's essential to understand the basic anatomy of a tablet. Tablets consist of several key components, including the display, motherboard, battery, and flex cables. Flex cables are thin, flat cables that connect different parts of the tablet, allowing them to communicate and function properly.
Common Tablet Issues
Tablets, like any electronic device, are prone to various issues over time. Some of the most common problems include a cracked or unresponsive display, battery drain, charging port issues, and malfunctioning buttons. However, in this guide, we will focus on one specific problem that often arises - flex cable damage.
Identifying Flex Cable Damage
Flex cables are delicate and can be easily damaged due to wear and tear, excessive bending, or accidental mishandling. If your tablet is experiencing any of the following issues, it's likely that the flex cable is damaged:
- Screen flickering or no display: If your tablet's screen is flickering or not turning on at all, it could be a sign of a damaged flex cable connecting the display.
- Unresponsive touch screen: If you notice that your touch screen is not responding properly or only registering certain areas, a faulty flex cable could be the culprit.
- Malfunctioning buttons or ports: If the buttons on your tablet are not working correctly or if you're experiencing issues with charging or audio ports, it's possible that the flex cables responsible for these functions are damaged.
DIY Tablet Repair: Flex Cable Replacement
Now that you've identified that the flex cable is causing the issue, it's time to roll up your sleeves and get to work. Here's a step-by-step guide on how to replace a damaged flex cable in your tablet:
- Gather the necessary tools: To begin, you'll need a set of precision screwdrivers, a plastic spudger or guitar pick, tweezers, and a replacement flex cable that matches your tablet's model. For example, if you have a Microsoft Surface Pro 4, you can use the E/P New LCD Screen Flex Cable.
- Prepare your workspace: Find a clean, well-lit area where you can comfortably work on your tablet. Make sure you have a soft surface to place your tablet on to prevent any scratches.
- Power off and disassemble: Power off your tablet and carefully remove the back cover using the appropriate screwdrivers. Take note of the screws' location and keep them organized to avoid confusion during reassembly.
- Locate the damaged flex cable: Once you have access to the tablet's internal components, locate the damaged flex cable. Carefully disconnect it from the motherboard and any other connected parts.
- Replace the damaged flex cable: Using the tweezers or a plastic spudger, remove the damaged flex cable from its housing. Then, insert the new flex cable into the appropriate connector, ensuring a secure and snug fit.
- Reassemble and test: Once the new flex cable is in place, reassemble the tablet by following the disassembly steps in reverse order. Make sure all screws are tightened securely. Power on your tablet and test the repaired functionality.
Conclusion: Empowering DIY Tablet Repairs
Repairing your tablet's flex cable is just one example of the many DIY repair opportunities available to you. By taking the time to understand your tablet's anatomy and learning how to troubleshoot and fix common issues, you can save a significant amount of money on repairs and gain a sense of satisfaction and empowerment.
Remember, always exercise caution when working with delicate electronics. If you ever feel uncomfortable or unsure about any repair process, it's best to seek professional assistance. However, with some patience, research, and the right tools, you'll be well on your way to becoming a DIY tablet repair expert.


shikkur517 - October 17, 2023
Great guide! Saved me tons of $$$ fixing my tablet. Thanks!
Slab_party - October 16, 2023
Great guide! Just what I needed, my tablet's been acting up lately and I'm trying to avoid the repair shop. Thanks for the money-saving tips!
AdamkIng - October 15, 2023
Nice guide, very helpful!
- October 14, 2023
Wow, this guide is a lifesaver! My tablet's flex cable broke and I was about to give up hope. But with the step-by-step instructions in this post, I was able to fix it myself and save a ton of money. Thank you so much!